2.1.4. Lab 4: Configure A Firewall Policy and Firewall Rules For Each Application
A network firewall policy is a collection of network firewall rules that can be applied to a virtual server. In our lab, we will create two policies, each of which includes two rules. This policy will then be applied to the appropriate virtual servers and tested.
2.1.4.1. Create The downloads_policy Firewall Policy And Rules
This example provides a firewall policy to the www.mysite.com/downloads portion of the application. A real world example of this would be with companies hosting cryptographic software which is subject to export restrictions. In this case we will use the Geolocation feature to block access from a couple countries only and only on the /downloads portion of the application, while access to www remains unaffected.
Navigation: Security > Network Firewall > Policies, then click Create
| Name | downloads_policy |
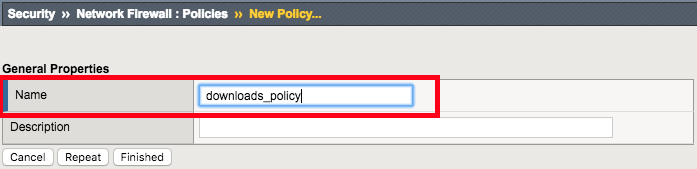
Note
Leave all other fields using the default values.
Navigation: Click Finished
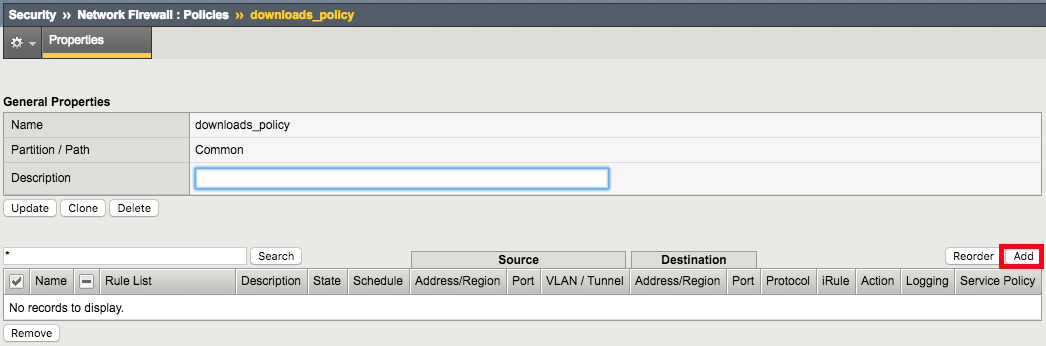
Create an IP Drop Network Firewall Rule
Navigation: Click Add
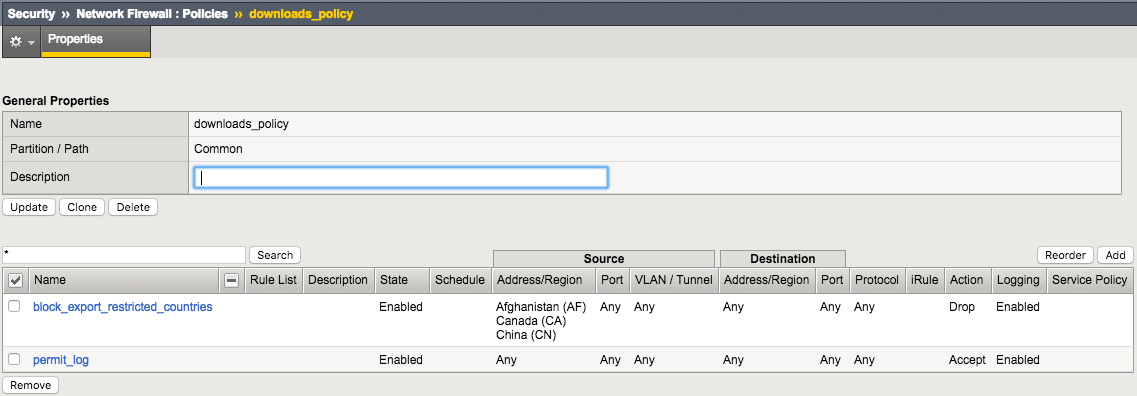
| Name | block_export_restricted_countries |
|---|---|
| Order | First |
| Protocol | Any |
| Source | Country/Region: AF,CN,CA |
| Action | Drop |
| Logging | Enabled |

Note
Leave all other fields using the default values.
Navigation: Click Finished
| Name | permit_log |
|---|---|
| Order | Last |
| Action | Accept |
| Logging | Enabled |
Create Permit Log Network Firewall Rule
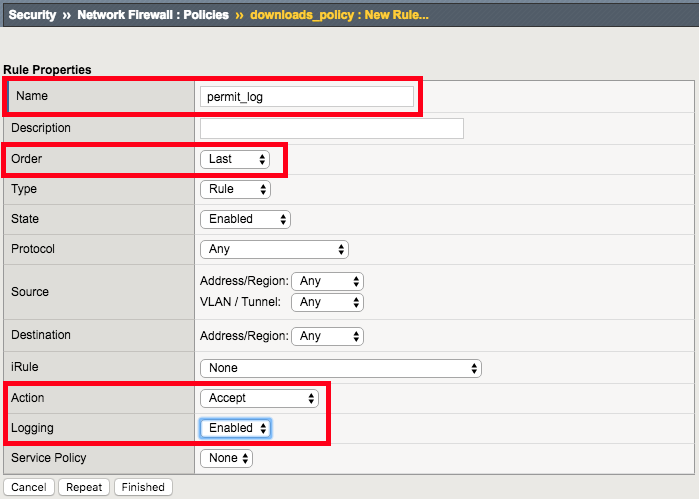
Note
Leave all other fields using the default values.
Navigation: Click Finished
From client machine try to connect again to the application site.
URL: https://www.mysite.com/downloads/

Note
We want to validate the site is available before and after applying the Network Firewall Policy
2.1.4.2. Assign The Policy To The Virtual Server
A unique feature of the BIG-IP Firewall Module allows L3-4 security policies to be assigned specifically to an application i.e. Virtual Server. So each application can have its own firewall policy separate from other application virtual servers.
Apply the Network Firewall Policy to Virtual Server
| Virtual Server | int_vip_www.mysite.com-downloads_1.1.1.3 |
|---|---|
| Enforcement | Enabled |
| Policy | downloads_policy |
| Log Profile | firewall_log_profile |

Note
Leave all other fields using the default values.
Navigation: Click Update
From client machine validate that you can still reach the application as you did in Lab3.
URL: https://www.mysite.com/downloads/
Note
We want to ensure the site is still available after applying the policy. We will get into testing the block later.
2.1.4.3. Create A Separate Policy For The API Virtual Server
Now we want to create a second policy for access to the /api/ application
Create Network Firewall Policy
Navigation: Security > Network Firewall > Policies, then click Create
| Name | api_policy |
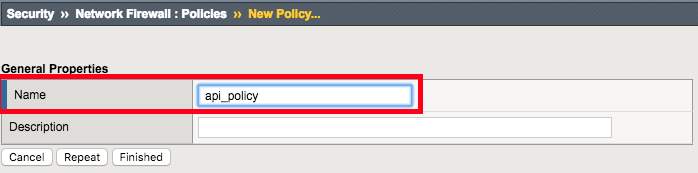
Note
Leave all other fields using the default values.
Navigation: Click Finished
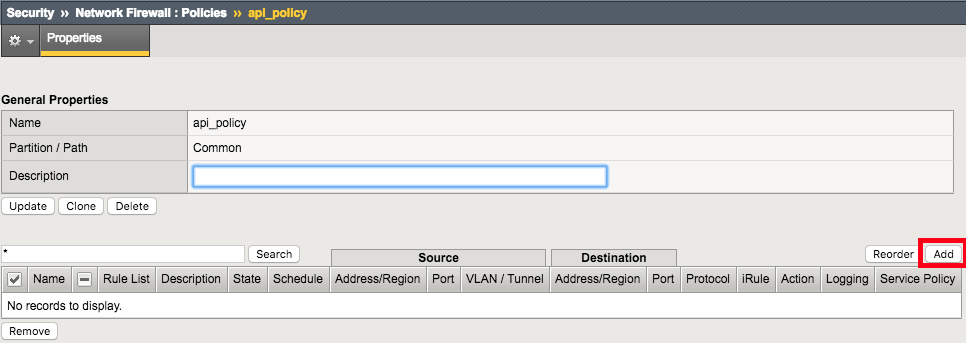
Create Allow TCP Port 80 From Host 172.16.99.5 Network Firewall Rule
Navigation: Click Add
| Name | allow_api_access |
|---|---|
| Order | First |
| Protocol | TCP (6) |
| Source | Address: 172.16.99.5 |
| Action | Accept |
| Logging | Enabled |
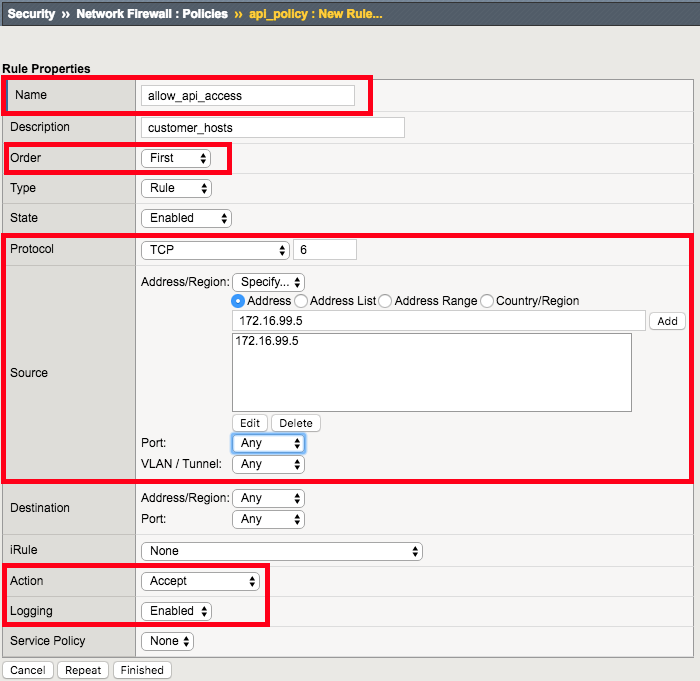
Note
Leave all other fields using the default values.
Navigation: Click Finished
Note
As we are deployed in “ADC Mode” where the default action on a virtual server is ‘Accept’, we must also create a default deny rule.
For further discussion of Firewall vs ADC modes, please consult the F5 BIG-IP documentation.
| Name | deny_log |
|---|---|
| Order | Last |
| Action | Drop |
| Logging | Enabled |
Create Deny Log Network Firewall Rule
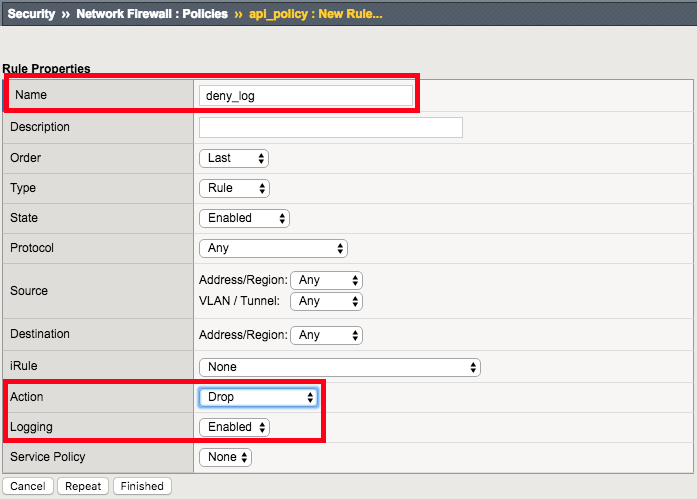
Note
Leave all other fields using the default values.
Navigation: Click Finished
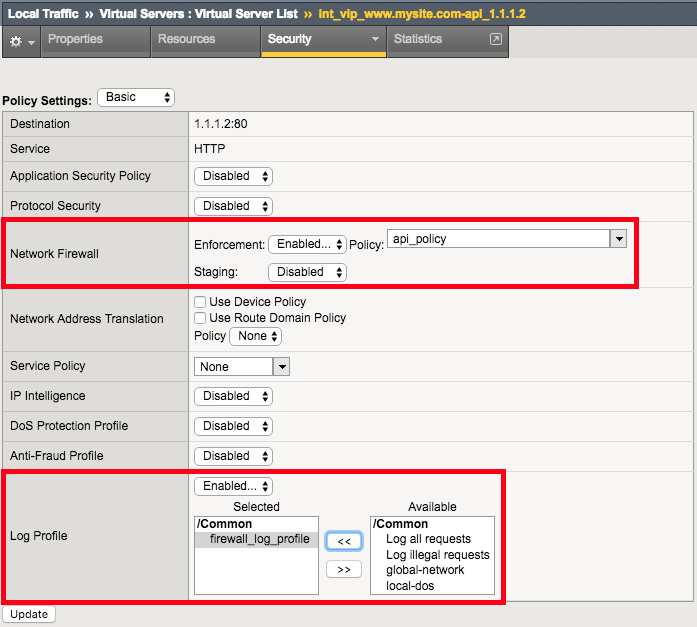
Apply the Network Firewall Policy to Virtual Server
| Virtual Server | int_vip_www.mysite.com-api_1.1.1.2 |
|---|---|
| Enforcement | Enabled |
| Policy | api_policy |
| Log Profile | firewall_log_profile |
Note
Leave all other fields using the default values.
Navigation: Click Update
From client machine
URL: https://www.mysite.com/api
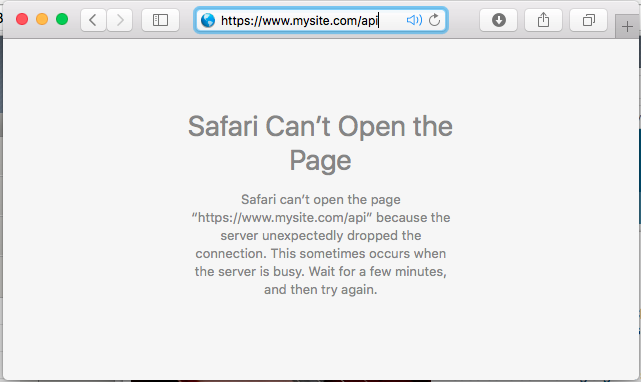
Attention
You should no longer be able to access the /api site because the only allowed address is 172.16.99.5. You can verify this in the logs. What is the IP address that is trying to connect?

Note
This concludes Module 1 - Lab 4